BEHIND THE SCENES
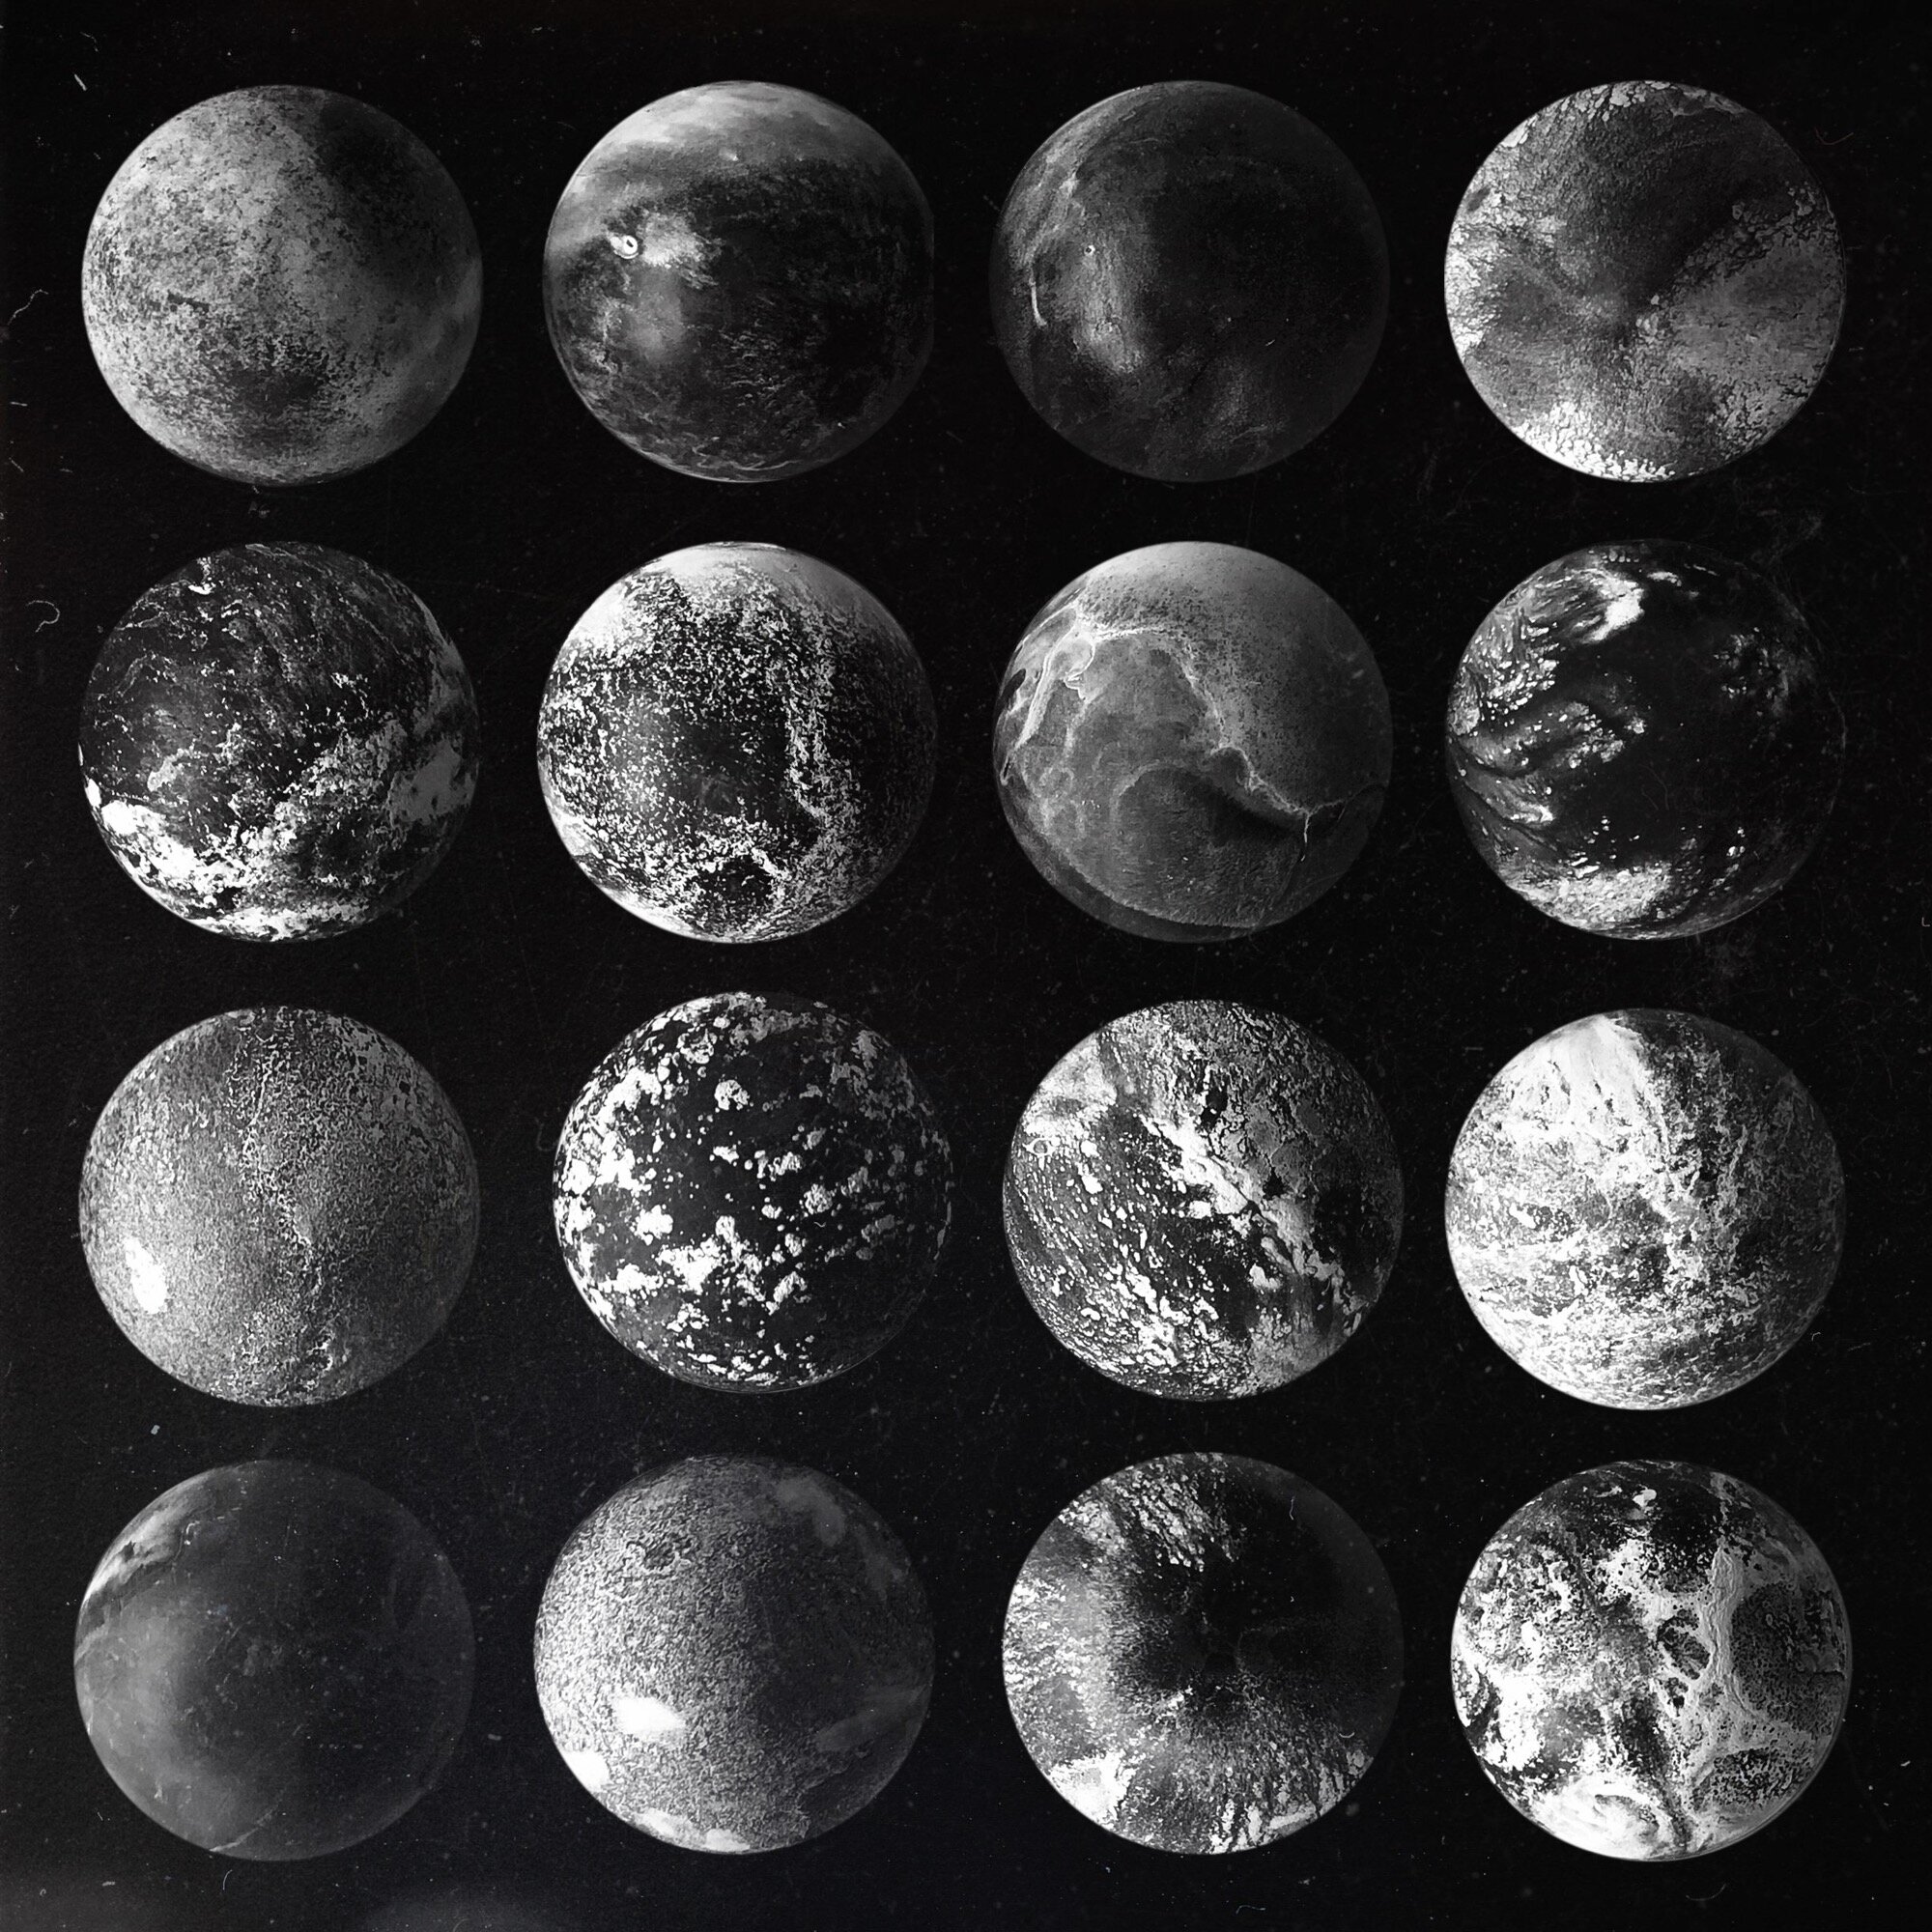
MINIATURE EXOPLANETS is a body of work comprised of hand crafted planetary models that are photographed. All elements within the picture are in camera including alien landscapes, accretion disks, planets, and star backdrops. This new work ultimately questions the extension of our reach in both the universe and our imaginations, and the lengths we'll go to to find meaning in our own existence. I am making a thousand of them both as an artistic study, and a testament to the vast reality that exists beyond us.
The following is my best attempt at detailing the work I have been doing since 2016. I have made over 1000 + exoplanets but have only photographed about 650 +/- so far (as of Nov 2024). This project started as a small-scale idea to see if I could create planetary background elements for another project called ‘Probes.’
This kind of project requires experimentation and trial and error, as with most miniature projects. There are no how-to books on making miniature planets, stars, and landscapes. The work is an analogue process comprised of sculpture and photography. The main images (planets, moons, star backdrops, accretion disks, and alien landscapes) originate in-camera. Afterward, I pieced the images together in Photoshop and After Effects. The only digital aspects are the bright point-like stars made with optical flares, volumetric light FX created with Trapcode Shine, particles (geysers, explosions, etc) created with Trapcode particular, and solids that are used for atmosphere between set layers. The reason I use After Effects in tandem with Photoshop is that I am familiar with the plugins, and I like the results. I find that I can fix gradient banding more easily with After Effects versus Photoshop.
In 2018, I collaborated with the Keck Observatory/astronomer Carlos Alvarez on a monthly exoplanet project that involved more accuracy regarding the science behind what these planets could look like. What colour would they be? Is it a hot planet or a cold planet? Is the planet tidally locked? What kind of star does the planet orbit? This data informed my work and shaped it in ways I never expected. As a result, I learned much about astronomical objects and developed new techniques.
For the planet construction, I started out using small styrofoam balls and larger styrofoam hollow ball forms from Studio Specialties, but they ended up being too fragile and costly. Later on, I found clear Christmas ornaments worked out best for planet models. Many of the moons and asteroids were sculpted, moulded, and then cast in various materials: plaster, grout, graphite, and plastic. I also experimented with multiple paint mixtures to create the planetary looks, using everything from oil paint to alcohol inks.
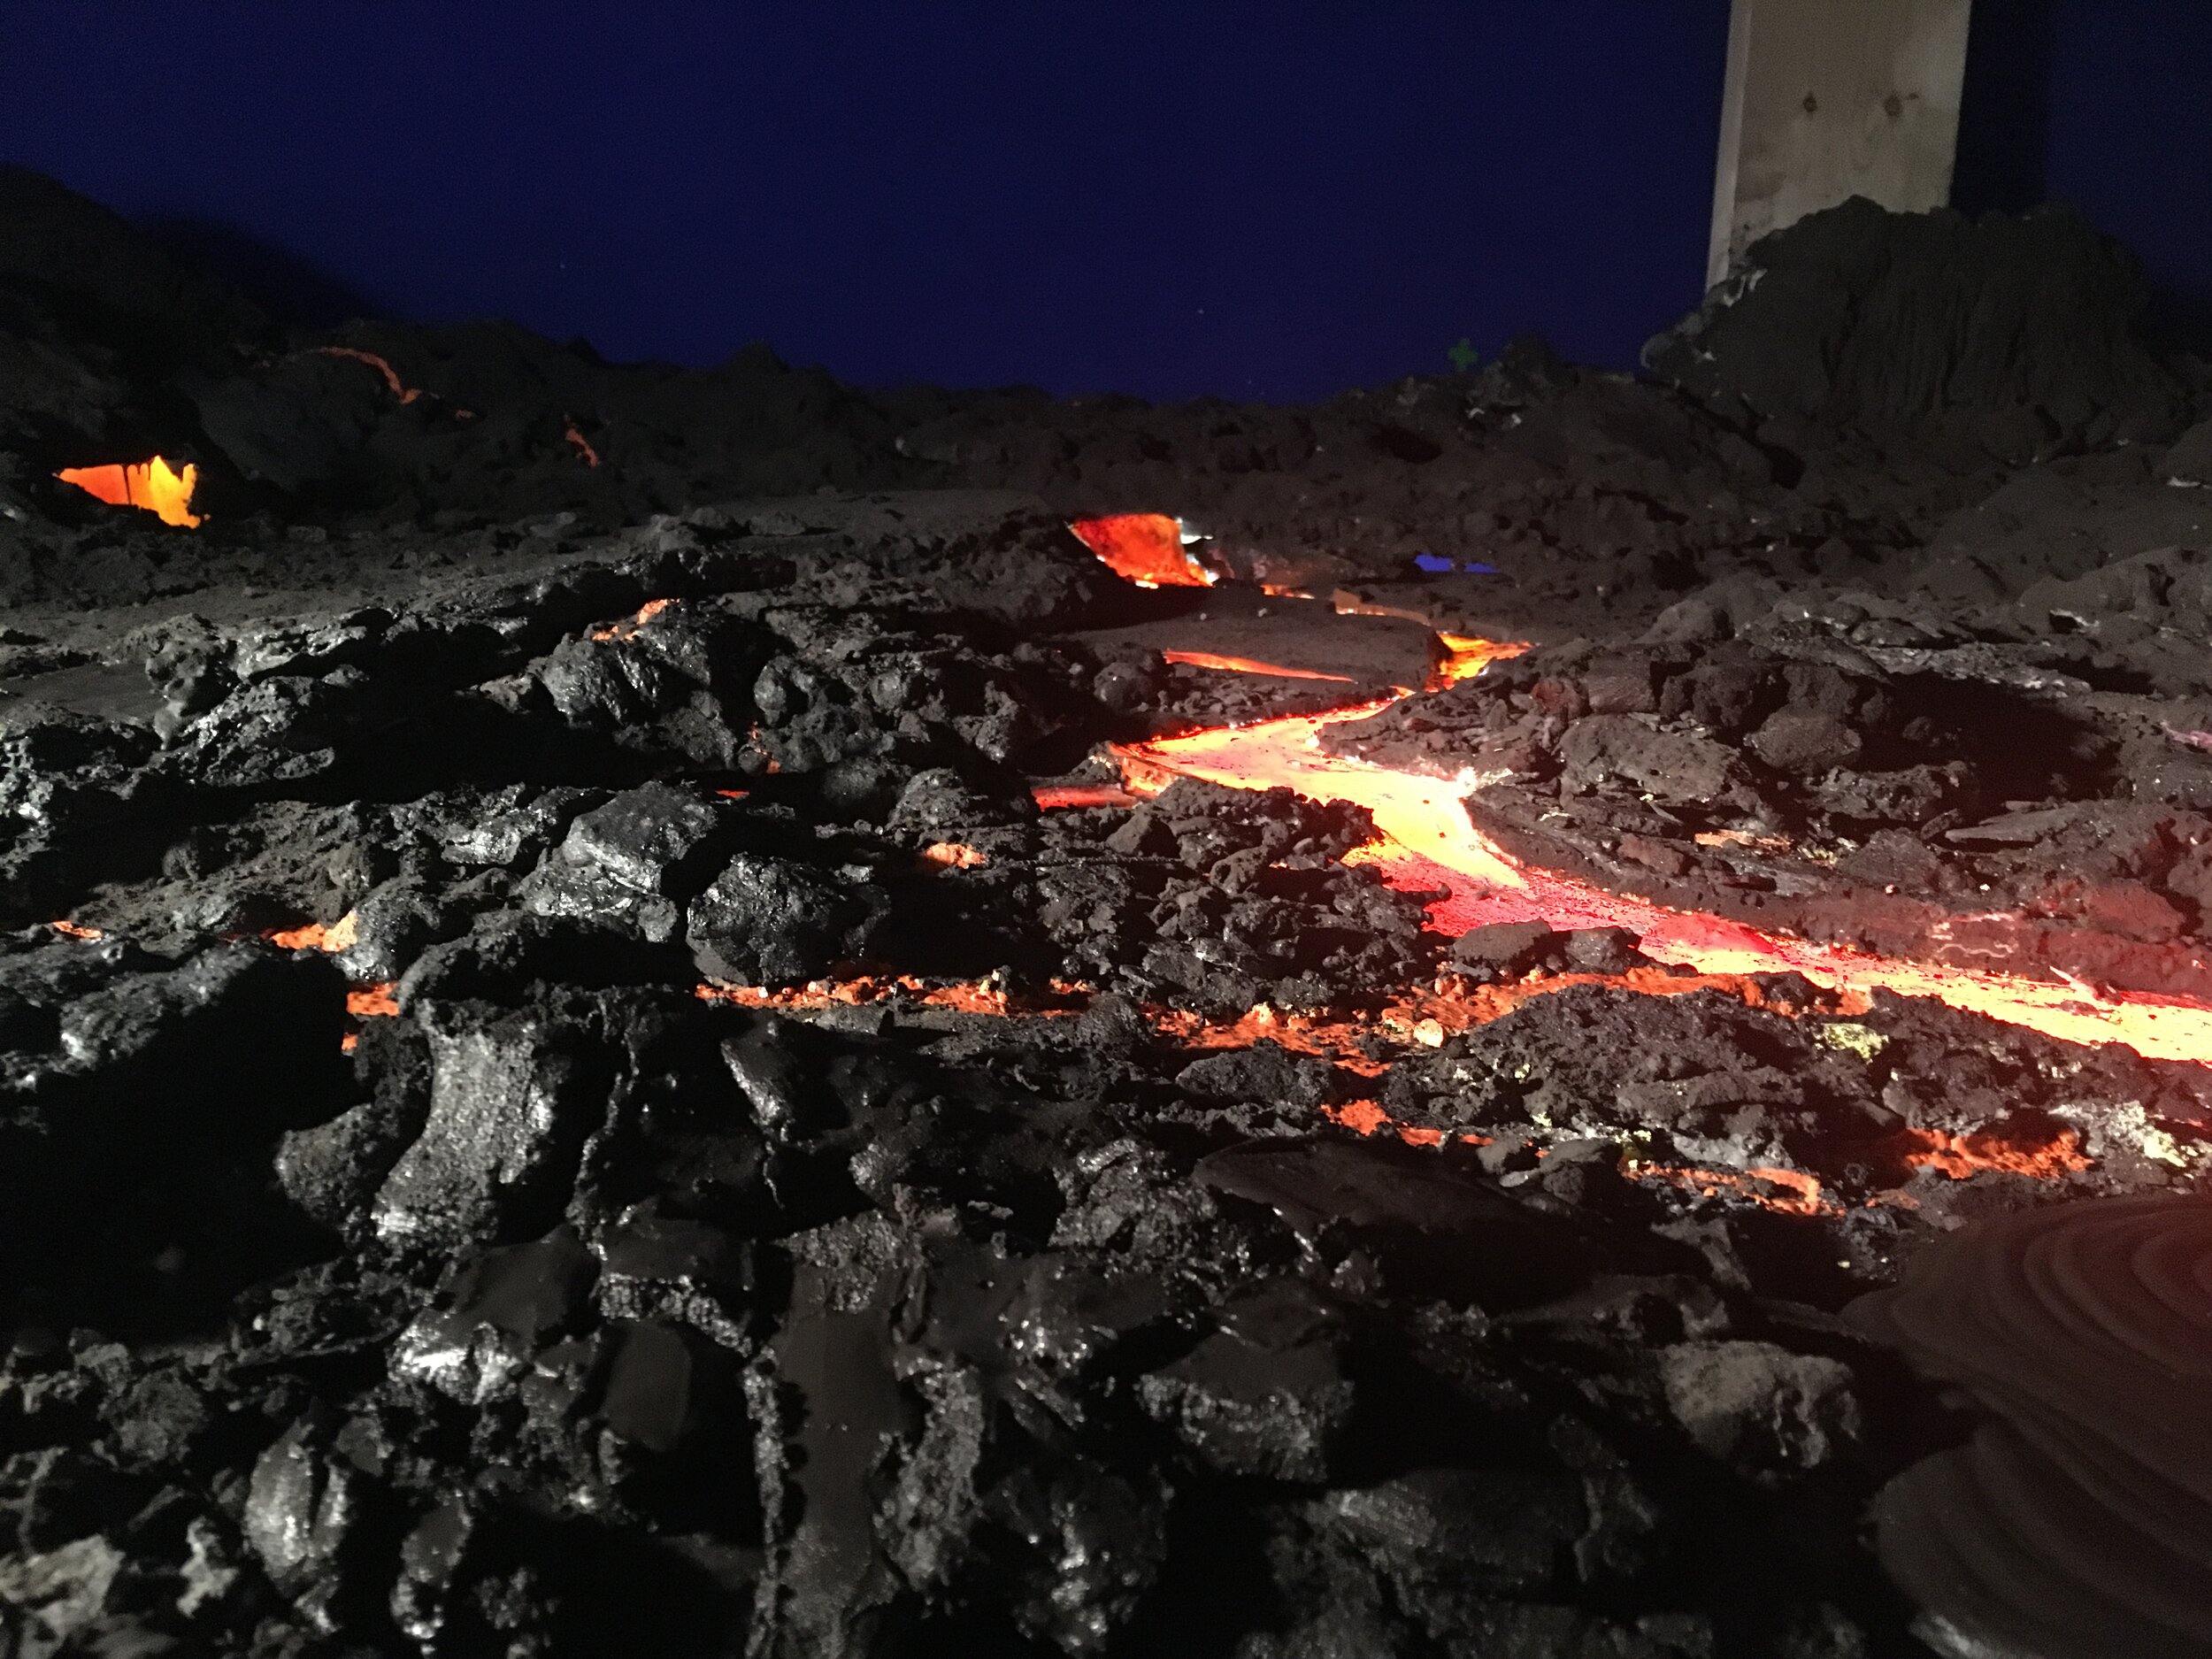
This next gallery is a behind-the-scenes look at landscape making for this miniature project. For the various terrains, I used a combination of tile grout, plaster, iron powder, copper powder, graphite, baking soda, ammonia, and various salts.
Planet Rings
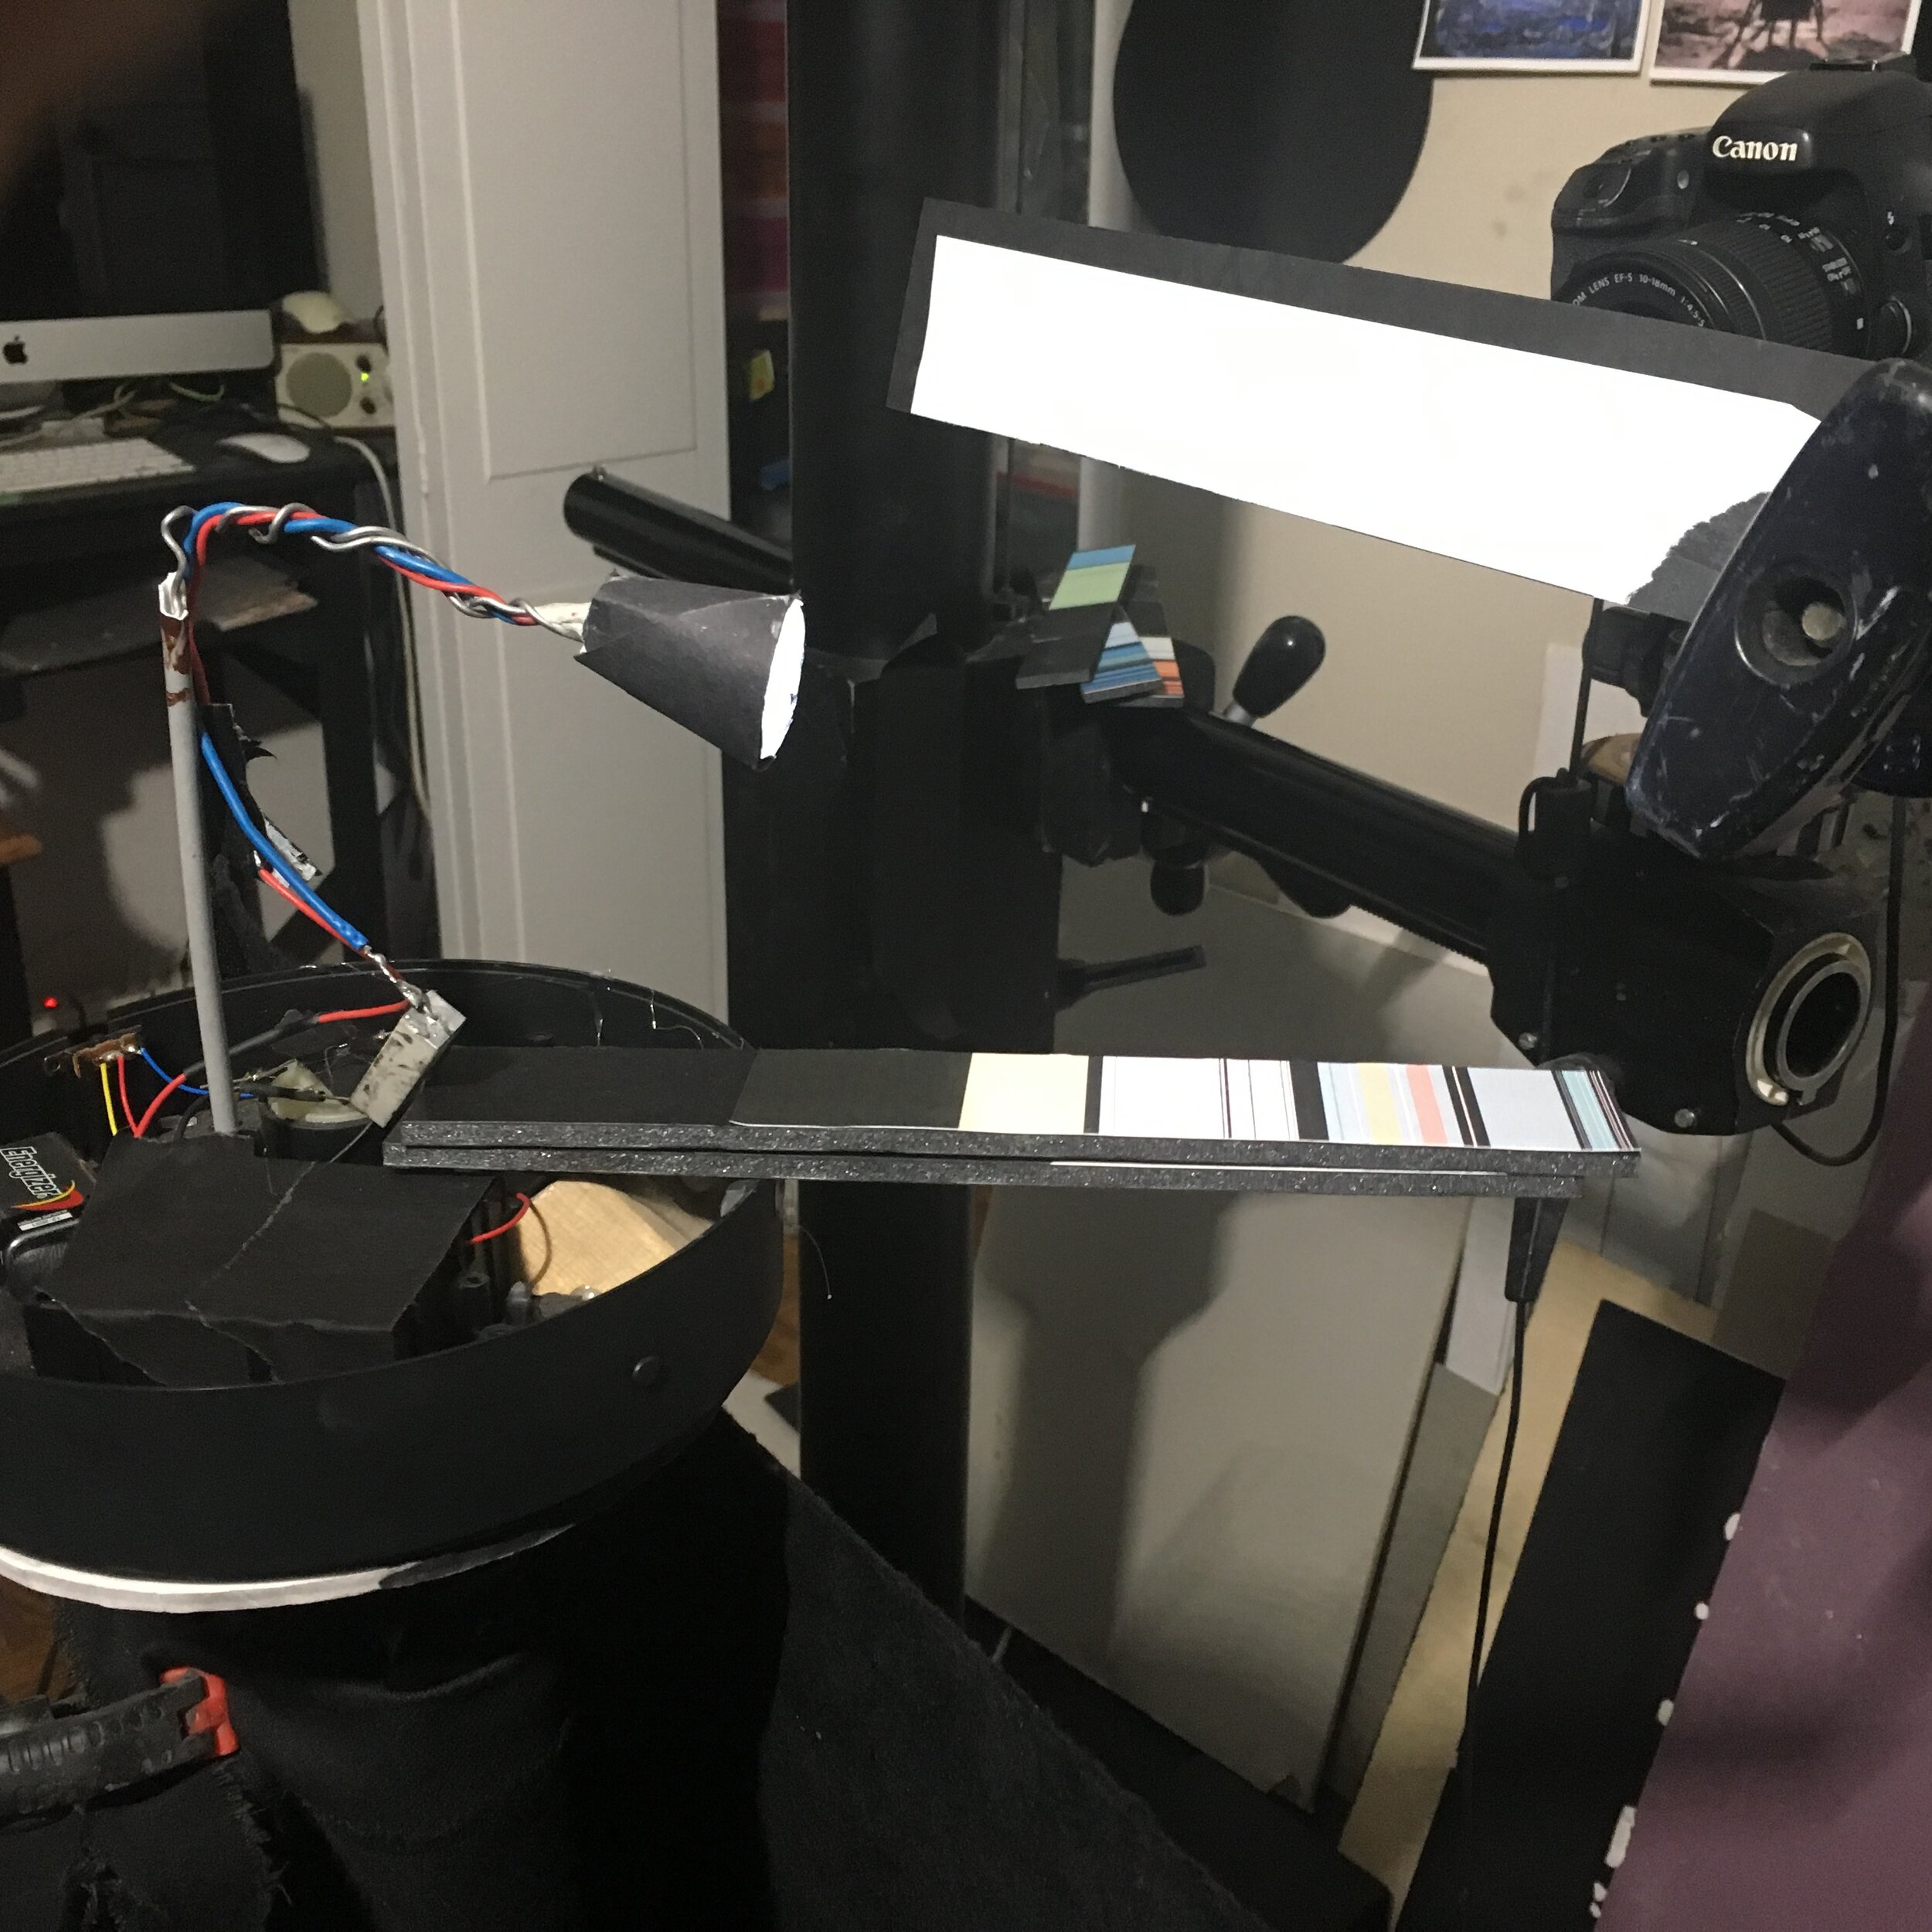
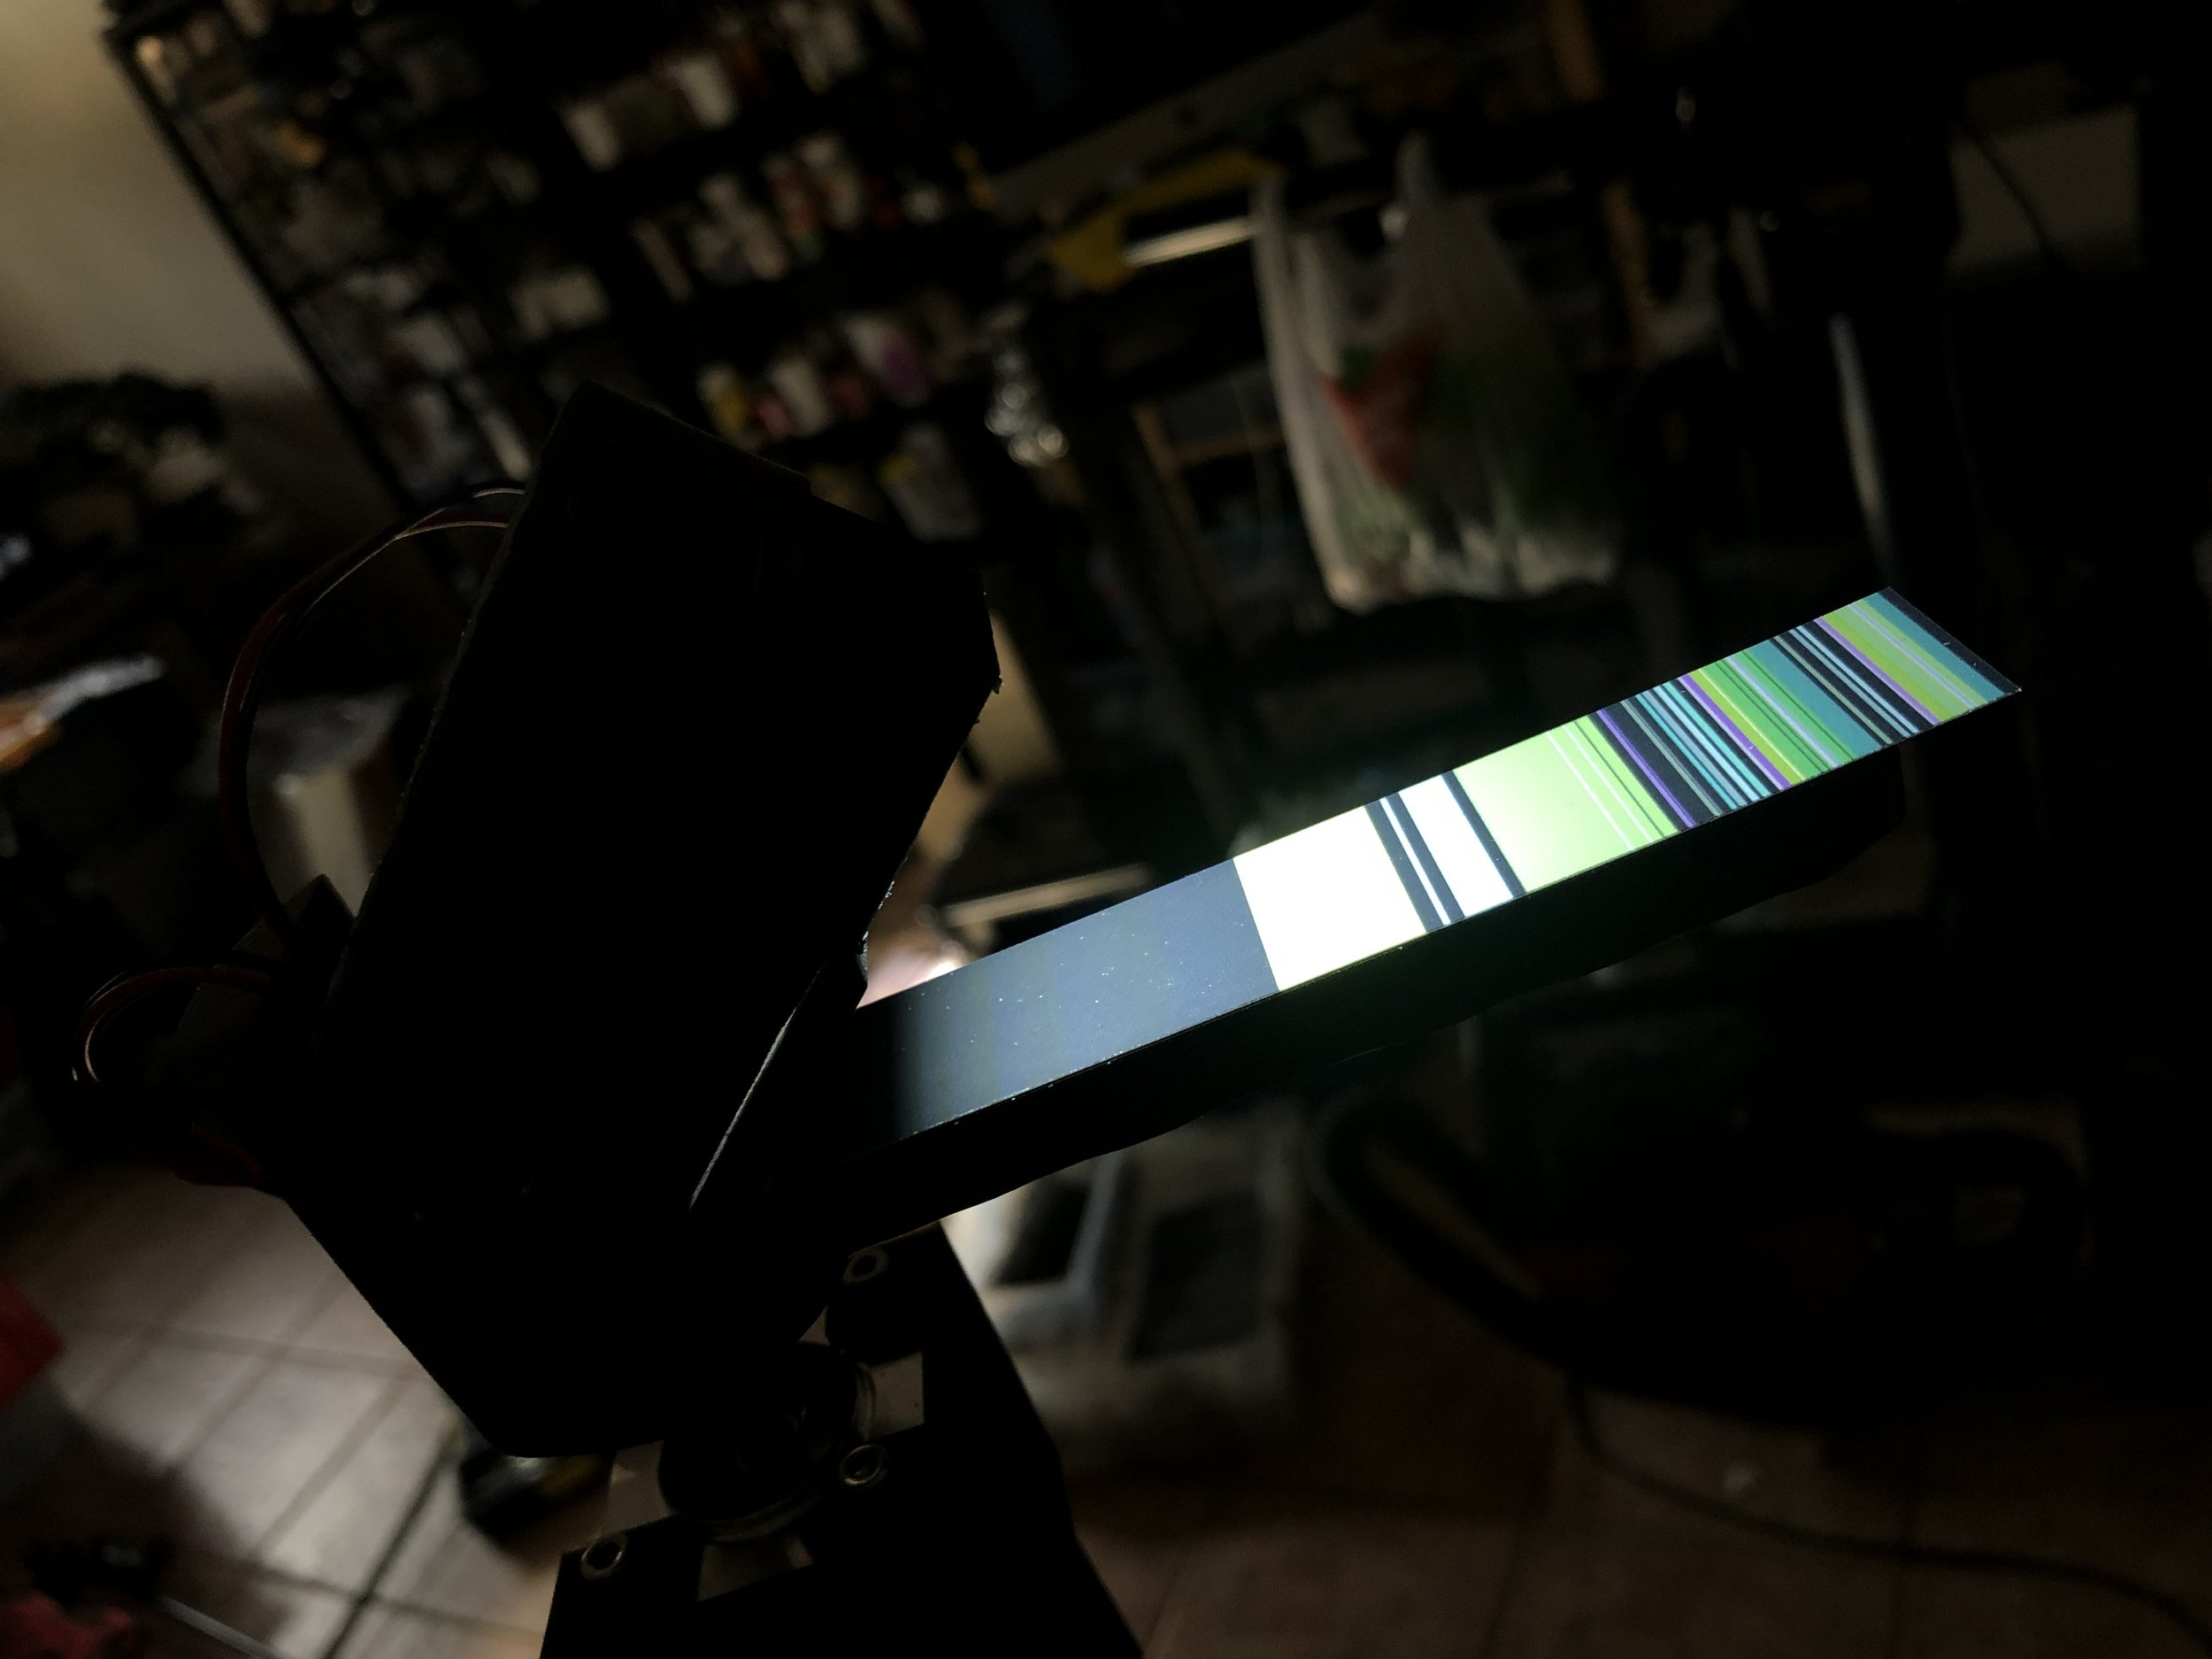
Planet rings could have been made digitally, but I wanted to stick to an analogue process so I found an old technique used in motion pictures (Cinemagic Issue #13 from 1981). The technique was ideal for the rings, but not for the planets due to the blur it created. I had to find a suitable turntable that could be adapted in order to rotate the coloured paper strips around in a circle. I also had to make a light that would run off batteries, move in unison with the turntable, and be constantly aimed on the strip.
At first, I glued small pieces of coloured paper onto strips of black foam core, but it gave a strange texture. Later on I opted to make them in Adobe Illustrator, then printed them out and glued those onto the foam core. I used an inkjet printer, but in retrospect it would have probably been sharper if I printed them on a laser printer.
Star backdrops - Initially, I made stars on black paper, then applied pastels on top for the stellar gases. Afterwards, I poked holes through the paper, and back lit it so that the light would penetrate through the holes. I really liked this look, and tried several versions of this method.
Later on, I made acrylic trays and added a clear two part plastic with glitter suspended within it. For the cosmic gases I added some colorants: blue, green, red, etc and swirled them around. This also worked out very nice, and better represented real star fields.
Swirling paint textures - I used a variety of paints, and techniques to create flows that would resemble tightly packed gases on a planets surface. I took the swirled paint images and ‘overlaid’ them onto the images of the model planet surface (to create gas planets) using different blending modes in Photoshop. Originally, I applied a similar look directly onto some of the planet models. The direct application looks a bit less real, more textured, and sometimes the paint would crack afterwards. This initial look was more illustrative, but I like both techniques.
Walrus magazine editorial PDF here: Imagining Exoplanets


